Why Final Cut Pro works well with connected MP4 overlays
Final Cut Pro makes overlay editing feel natural because a Varya visualizer can sit as a connected clip above the primary storyline. That keeps the overlay attached to the section of the edit where it belongs while still letting you trim, retime, and reposition it quickly.
For MP4 exports, the transparent look is created with a black background and the Screen blend mode. This is not a real alpha file. It is a fast compositing workflow for bright visualizers, especially when you want a music-reactive layer over performance footage, cover art, or social edits without managing large ProRes files.
Set up Varya for a clean MP4 overlay
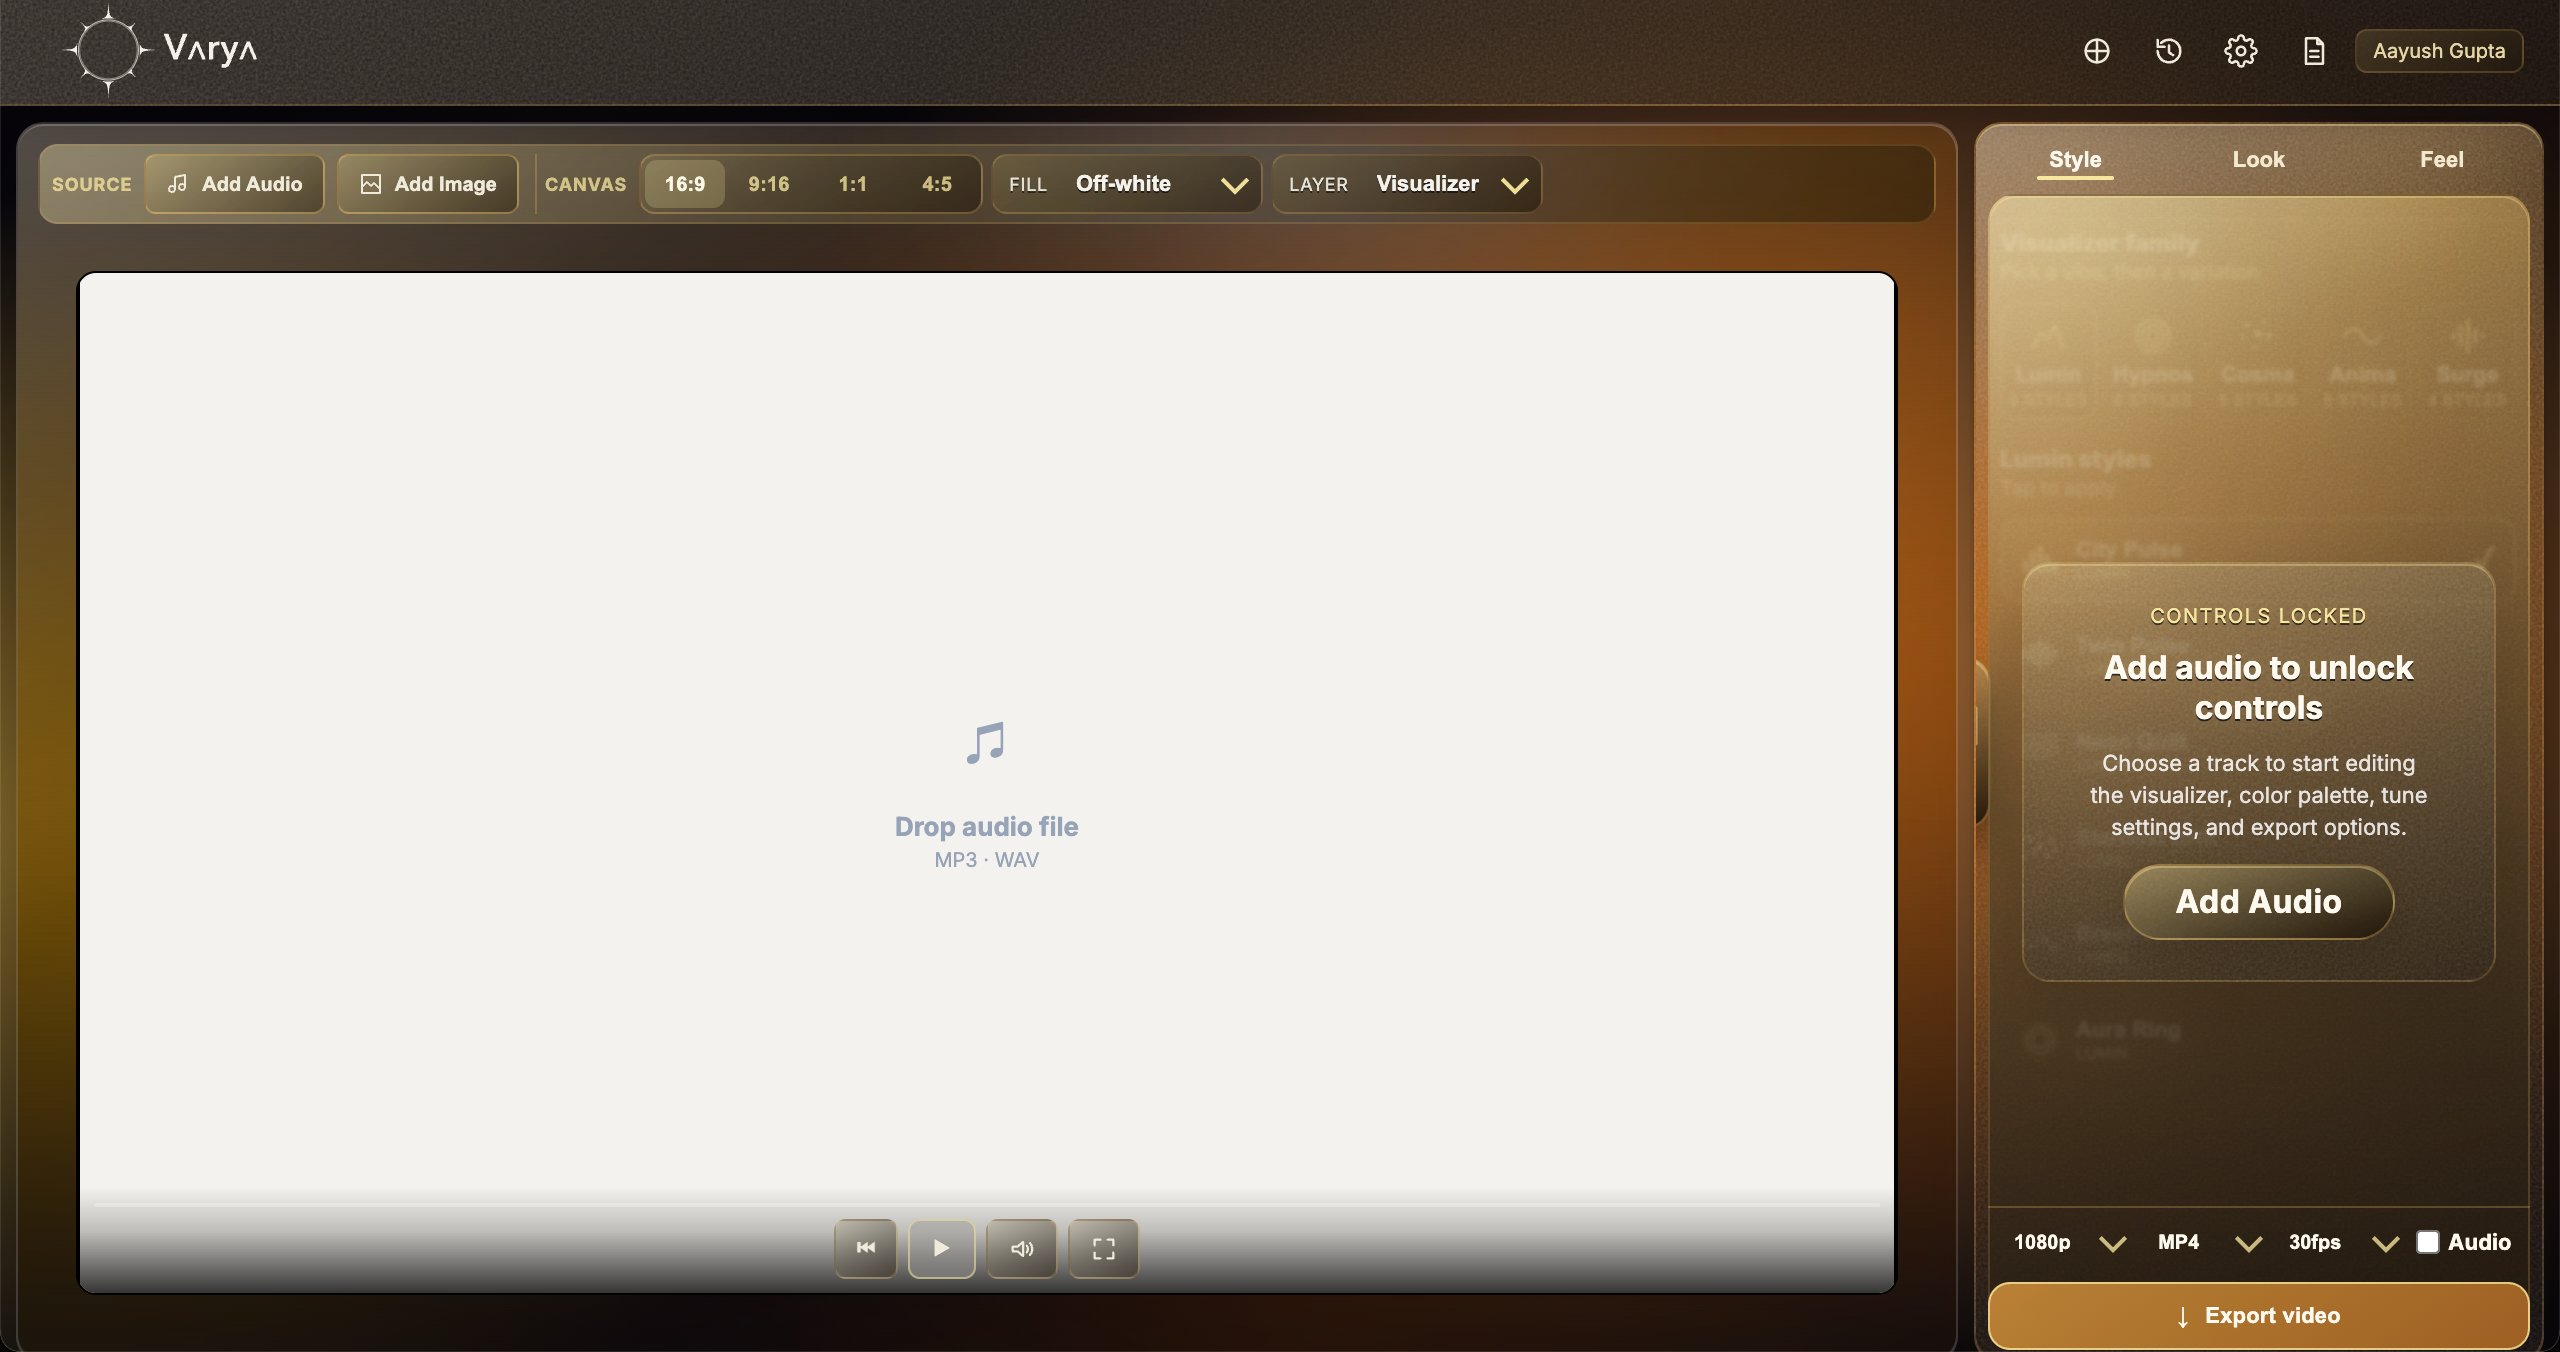
Open Varya, sign in, and add the track you want the visualizer to react to. The audio file is the source of the movement, so add it before spending too much time on styling. Then choose the canvas size that matches your edit. Use 16:9 for landscape video, 9:16 for vertical content, 1:1 for square posts, and 4:5 for portrait feed formats.
For this MP4 method, do not add a background image if the visualizer is supposed to sit over another video. Set the Varya background or fill to black. The black is not meant to be seen in the final edit; it is a technical background that gives Screen blending something clean to remove.
- Use black background for MP4 overlay exports.
- Use bright visualizer colors so Screen blending has visible pixels to keep.
- Avoid dark gray or low-contrast visualizers because they may disappear after blending.
- Match the Varya canvas to your Final Cut Pro timeline or composition.

Design the visualizer so it blends with the edit
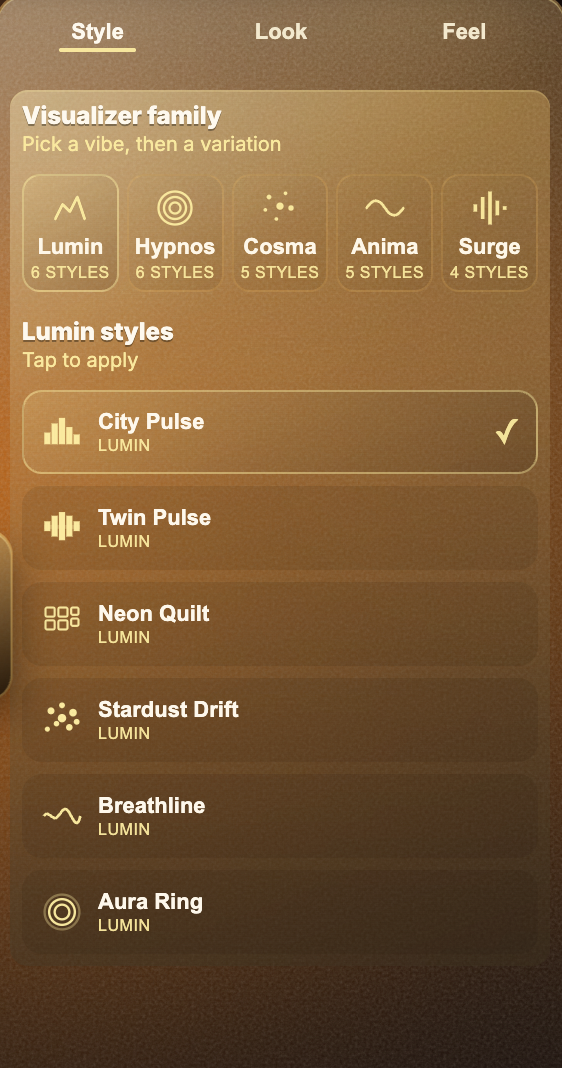
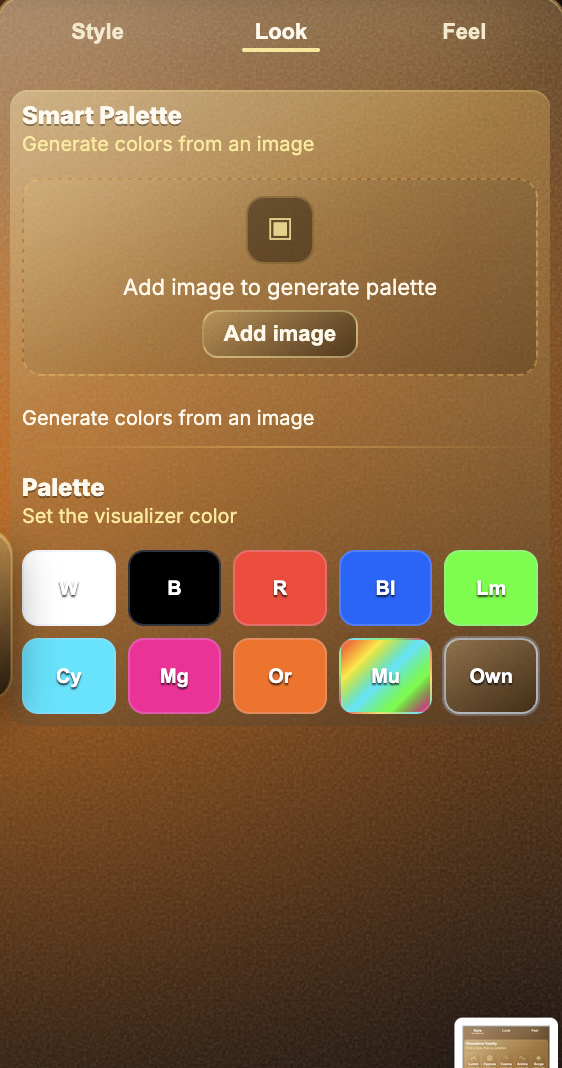
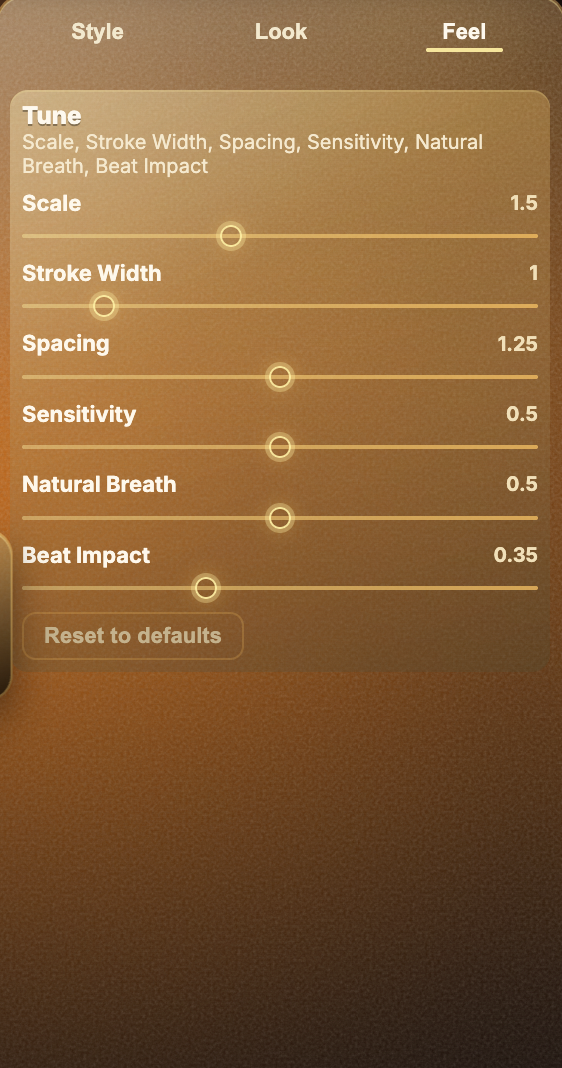
A transparent-looking overlay is not only a technical trick. It also needs to feel like it belongs in the shot. In Varya, use Style to choose the visual family, Look to control the color direction, and Feel to decide how much the song drives the motion.
For a bright energetic track, a bold pulse or sharper line style can work well. For ambient or emotional music, a slower breathing style usually sits better over footage. If the visualizer is covering faces, product shots, or typography, reduce scale, stroke width, or opacity later in the editor so the overlay supports the edit instead of taking it over.
- Style should match the mood of the song, not just the genre.
- Look should stay bright enough for Screen mode to preserve the visual.
- Feel should be adjusted until the motion reacts musically instead of constantly shaking.
Export the Varya MP4
When the visual feels right, export MP4 from Varya. Keep the black background. Keep audio enabled only if this MP4 is also your final music video. If the Varya file is only an overlay for an edit that already has mixed audio, turn audio off so you do not accidentally duplicate the soundtrack in the editor.
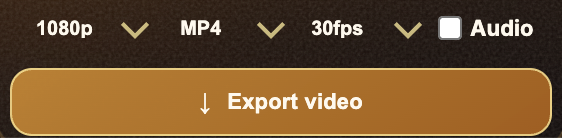
For most projects, export at the same resolution and frame rate as the timeline. This avoids unnecessary scaling and makes the overlay easier to preview. If the edit is 1080p at 30fps, export that. If it is a 4K project, export at 4K only when you need the extra detail or expect to scale the visualizer heavily.
Connect the Varya clip and set Screen in the inspector
Import the Varya MP4 into Final Cut Pro. Move the playhead to the point where the visualizer should start, select the Varya clip in the browser, and choose Edit > Connect to Primary Storyline or press Q. The visualizer should sit above the main edit as a connected clip.
Select the connected Varya clip, open the Video inspector, find Compositing, and set Blend Mode to Screen. If the overlay feels too intense, lower Opacity in the same section. Because connected clips follow the primary storyline, this method works especially well when the visualizer should stay locked to a specific chorus, hook, or social clip.
Final Cut Pro timing and layout tips
Use the connected clip behavior to your advantage. Trim the Varya overlay to the exact section of the song where it should appear, then nudge it in the timeline if the beat timing feels off. If you are creating vertical content, confirm that the project format matches the Varya canvas before you start scaling the overlay.
If the black background is visible, the blend mode is probably still Normal or the Varya background is not black enough. If the visualizer disappears too much, it is probably too dark for Screen mode. Re-export with a brighter Look or use ProRes transparency instead.
- Use Q to connect the overlay above the primary storyline.
- Set Blend Mode to Screen in the Video inspector.
- Match the Final Cut project format before export.
- Use ProRes for true transparent overlays.