Why After Effects gives the most control over MP4 overlays
After Effects is a compositing tool, so the Varya MP4 overlay method can go further than a simple timeline blend. You can place the visualizer above footage, set the layer to Screen, and then add masks, transforms, glow, blur, or timing adjustments if the edit needs a more designed result.
The technical rule is the same as the other MP4 workflows: this is not real alpha transparency. Varya exports a bright visualizer on black, and After Effects uses Screen blending to hide the black visually. It is a strong workflow for motion graphics, lyric sequences, animated cover art, and edits where the visualizer may need extra treatment after export.
Set up Varya for a clean MP4 overlay
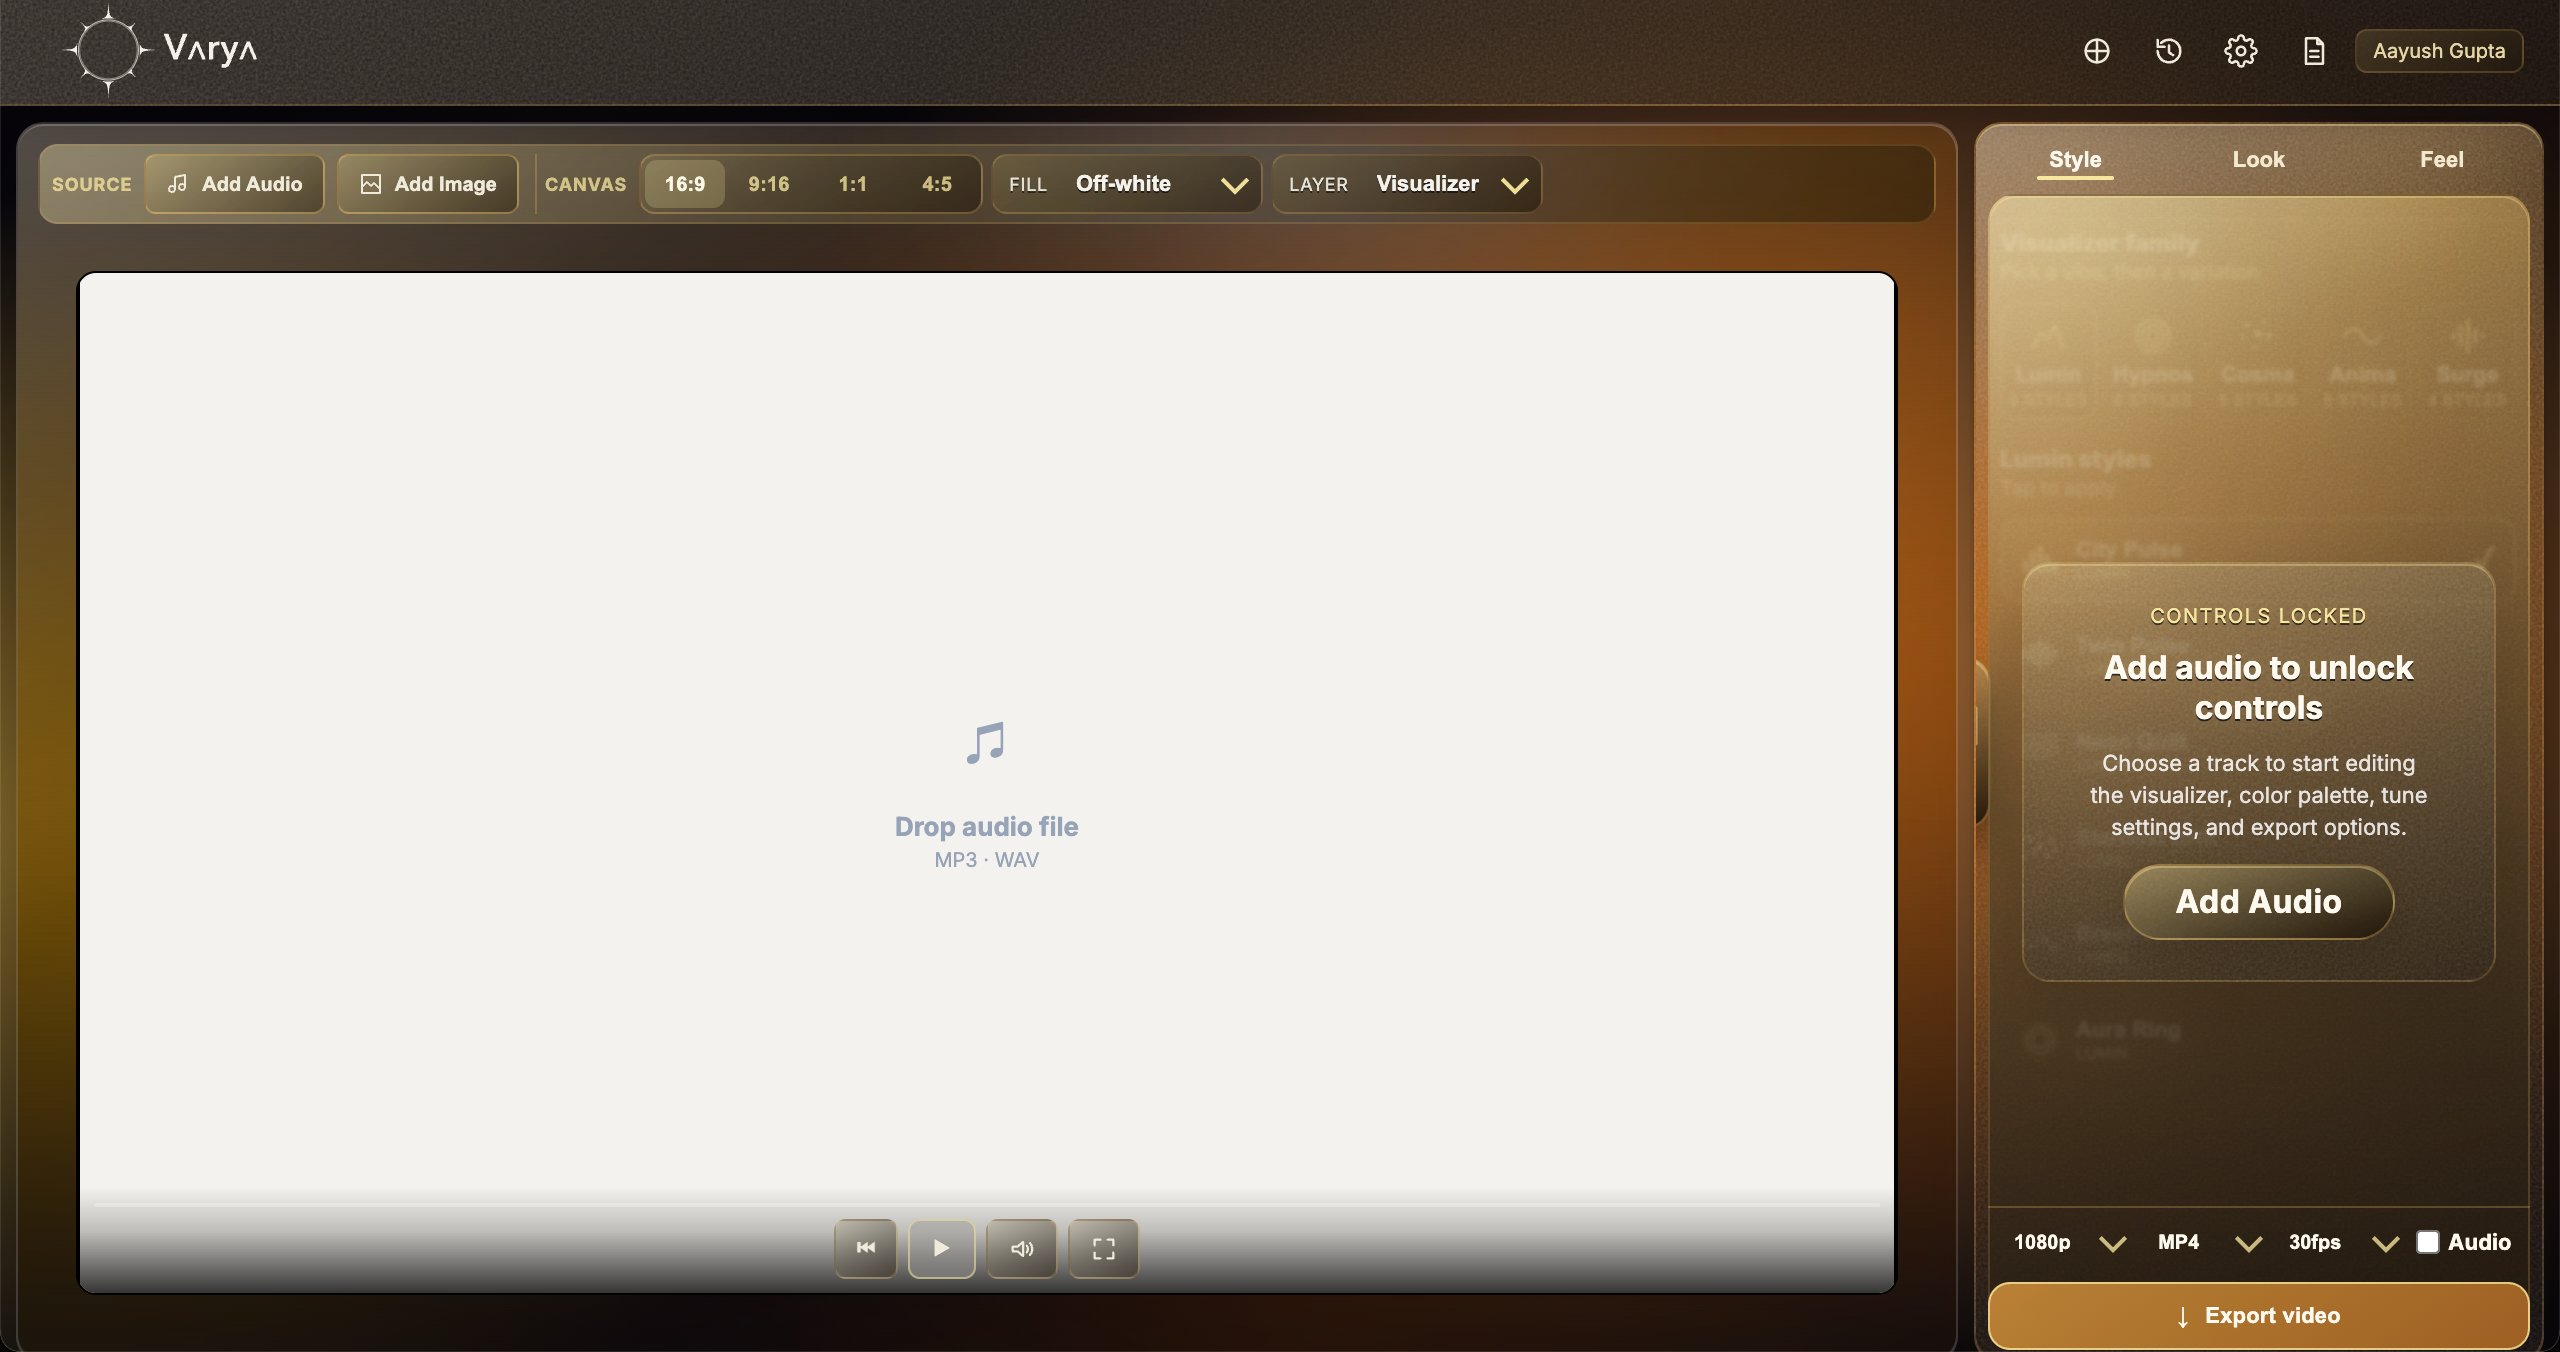
Open Varya, sign in, and add the track you want the visualizer to react to. The audio file is the source of the movement, so add it before spending too much time on styling. Then choose the canvas size that matches your edit. Use 16:9 for landscape video, 9:16 for vertical content, 1:1 for square posts, and 4:5 for portrait feed formats.
For this MP4 method, do not add a background image if the visualizer is supposed to sit over another video. Set the Varya background or fill to black. The black is not meant to be seen in the final edit; it is a technical background that gives Screen blending something clean to remove.
- Use black background for MP4 overlay exports.
- Use bright visualizer colors so Screen blending has visible pixels to keep.
- Avoid dark gray or low-contrast visualizers because they may disappear after blending.
- Match the Varya canvas to your After Effects timeline or composition.

Design the visualizer so it blends with the edit
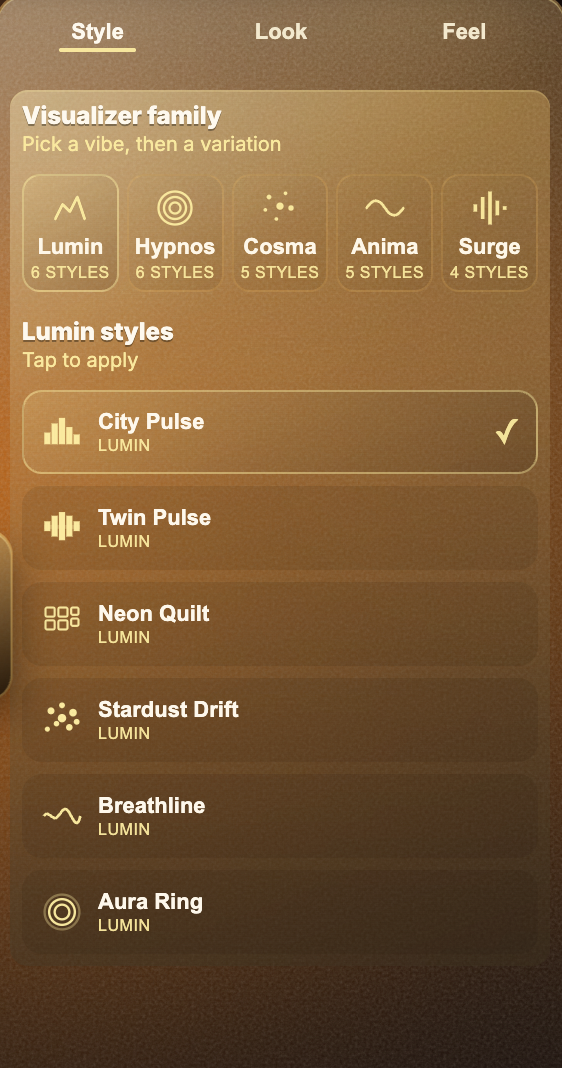
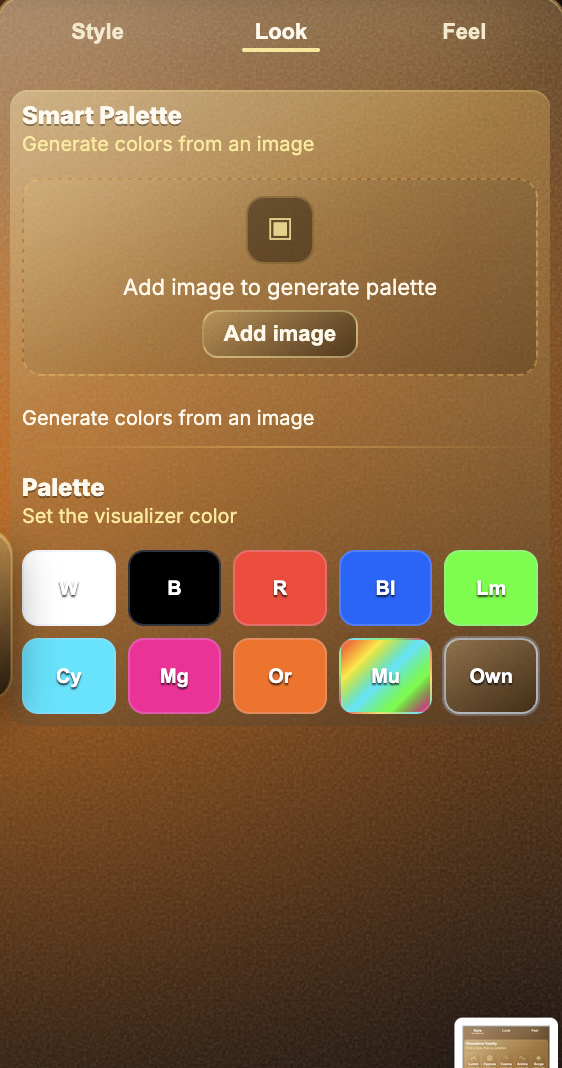
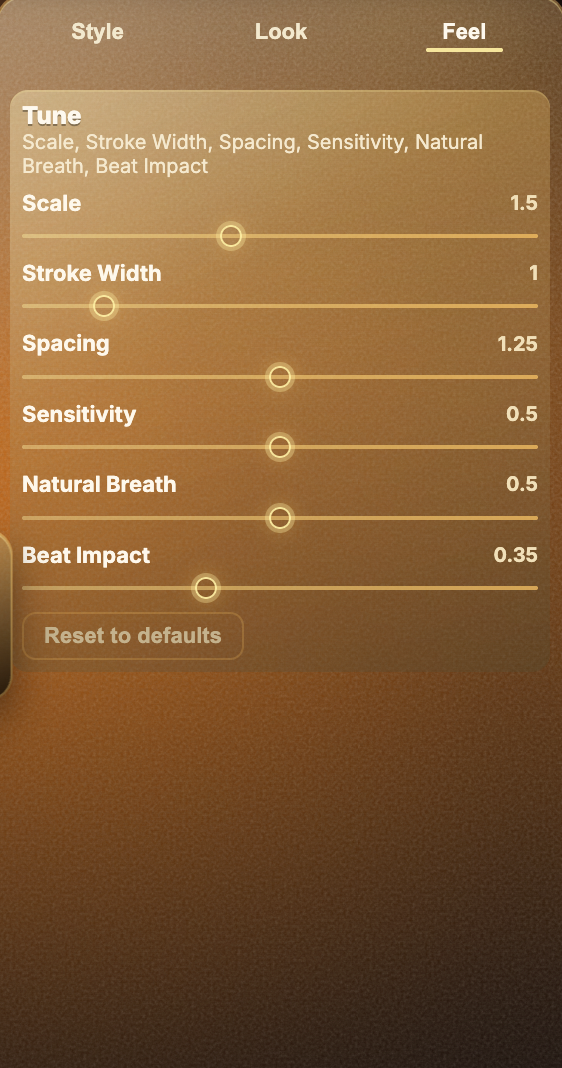
A transparent-looking overlay is not only a technical trick. It also needs to feel like it belongs in the shot. In Varya, use Style to choose the visual family, Look to control the color direction, and Feel to decide how much the song drives the motion.
For a bright energetic track, a bold pulse or sharper line style can work well. For ambient or emotional music, a slower breathing style usually sits better over footage. If the visualizer is covering faces, product shots, or typography, reduce scale, stroke width, or opacity later in the editor so the overlay supports the edit instead of taking it over.
- Style should match the mood of the song, not just the genre.
- Look should stay bright enough for Screen mode to preserve the visual.
- Feel should be adjusted until the motion reacts musically instead of constantly shaking.
Export the Varya MP4
When the visual feels right, export MP4 from Varya. Keep the black background. Keep audio enabled only if this MP4 is also your final music video. If the Varya file is only an overlay for an edit that already has mixed audio, turn audio off so you do not accidentally duplicate the soundtrack in the editor.
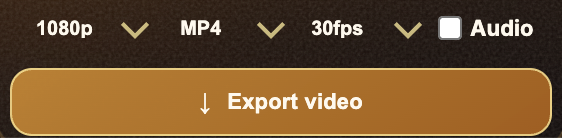
For most projects, export at the same resolution and frame rate as the timeline. This avoids unnecessary scaling and makes the overlay easier to preview. If the edit is 1080p at 30fps, export that. If it is a 4K project, export at 4K only when you need the extra detail or expect to scale the visualizer heavily.
Set the Varya layer Mode to Screen
Import the Varya MP4 into After Effects and place it in the composition above the footage layer. If the Mode column is hidden in the Timeline panel, click Toggle Switches/Modes or reveal the layer mode columns. On the Varya layer, choose Screen from the Mode dropdown. You can also use Layer > Blending Mode > Screen.
Once Screen is applied, treat the Varya file like any other motion layer. You can reduce Opacity, reposition it, scale it, parent it, mask it, or add effects. After Effects is useful when the overlay needs to interact with titles, camera movement, or other motion design elements rather than simply sitting over footage.
After Effects compositing tips
If the visualizer should only appear in part of the frame, use a mask on the Varya layer instead of changing the export. If the overlay feels flat, try a subtle Glow effect after the Screen blend. If it feels too noisy, reduce opacity or go back to Varya and lower sensitivity or beat impact.
Because After Effects projects often contain multiple precomps, keep the Varya overlay in the same frame size and frame rate as the comp where it will be used. This avoids scaling artifacts and timing surprises when the final render is sent to Adobe Media Encoder or another export path.
- Use the Timeline Mode column or Layer > Blending Mode > Screen.
- Use masks for selective overlay placement.
- Use Glow carefully after blending if the visual needs more light.
- Use ProRes when alpha transparency is required.