Use ProRes when Final Cut needs transparency without tricks
Final Cut Pro can handle a Varya ProRes transparent overlay as a connected clip, which makes this workflow cleaner than black-background MP4 blending. The visualizer carries transparency in the file, so you can place it above the primary storyline and keep the blend mode Normal.
This is the better option when the overlay needs to stay crisp, when the background footage has dark areas that would make Screen blending unpredictable, or when the file may be reused in several edits. The file is larger, but the timeline behavior is simpler.
Set up Varya for real transparency
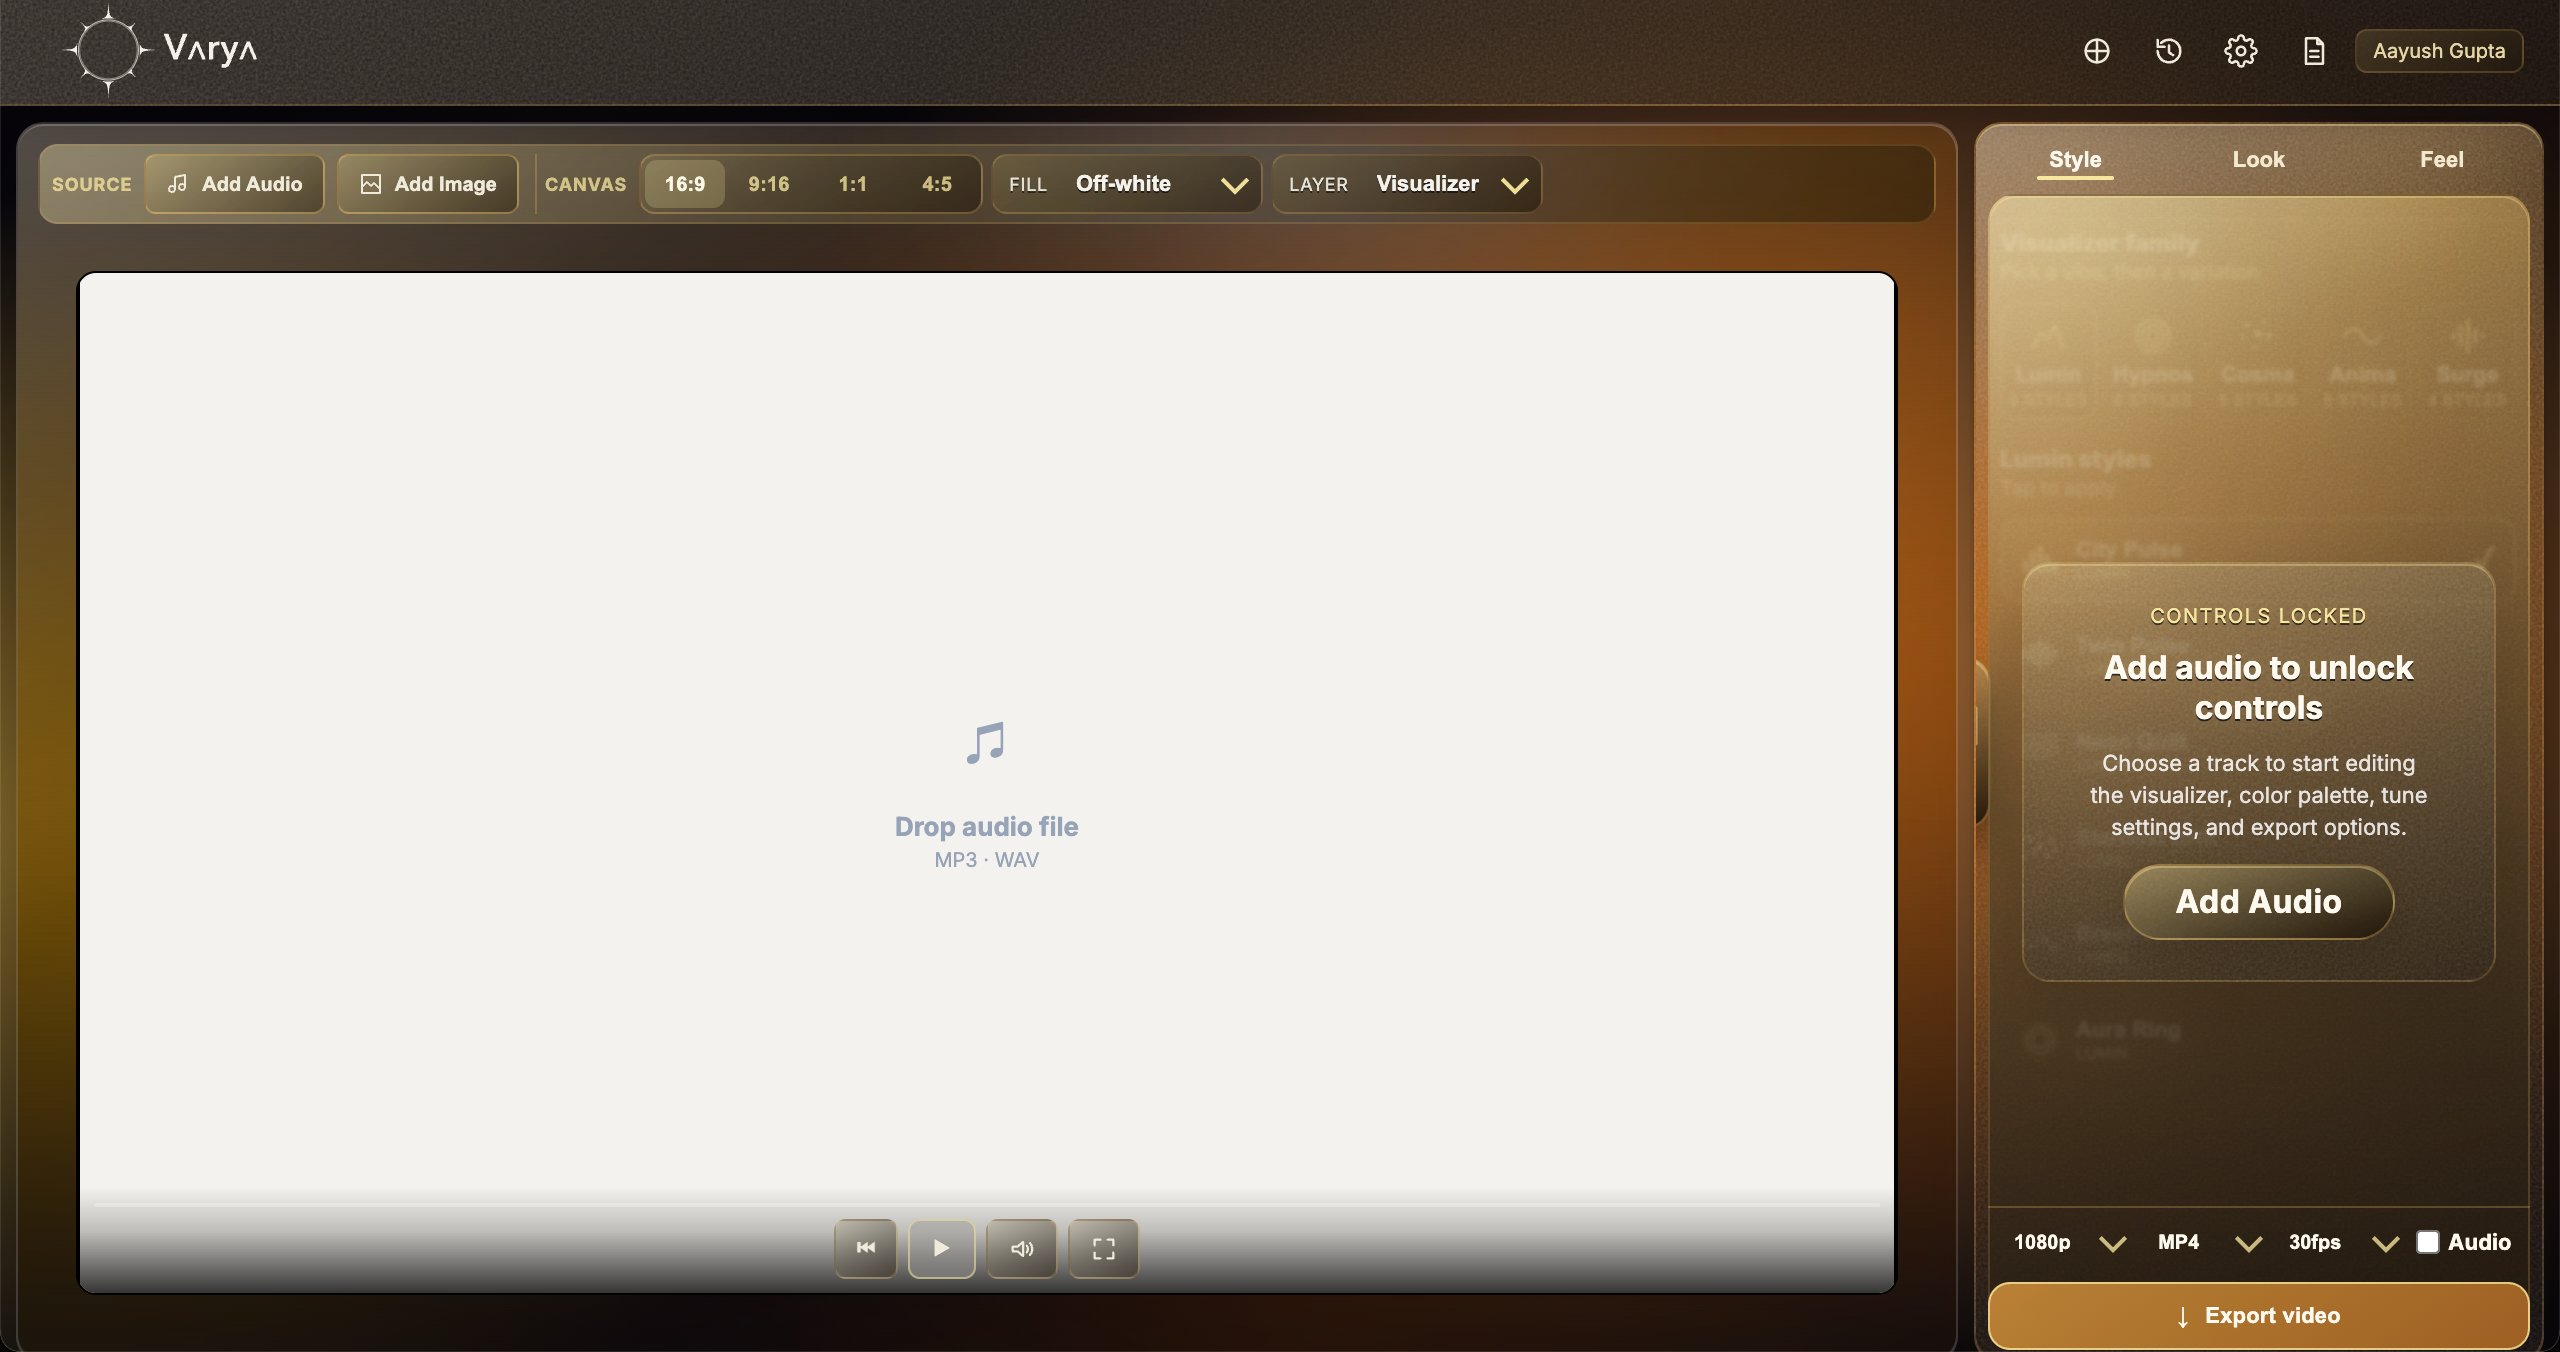
Start by adding your audio track in Varya. The visualizer reacts to the sound, so the track should be the same one used in your edit or at least a version with the same timing. Choose the canvas size based on the final project: 16:9 for horizontal video, 9:16 for vertical edits, 1:1 for square posts, or 4:5 for portrait feeds.
For ProRes transparency, choose the transparent fill or transparent background option in Varya. Do not add a background image if you want the overlay to remain transparent. The visualizer itself should be the only visible element. You can still choose any visualizer color because the alpha channel handles the transparent area; you do not need to force everything to bright colors for Screen mode.
- Choose Transparent fill/background in Varya.
- Do not add a background image for a transparent overlay export.
- Use ProRes when the file needs real alpha transparency.
- Match the canvas size to your Final Cut Pro timeline or composition.

Customize the overlay before export
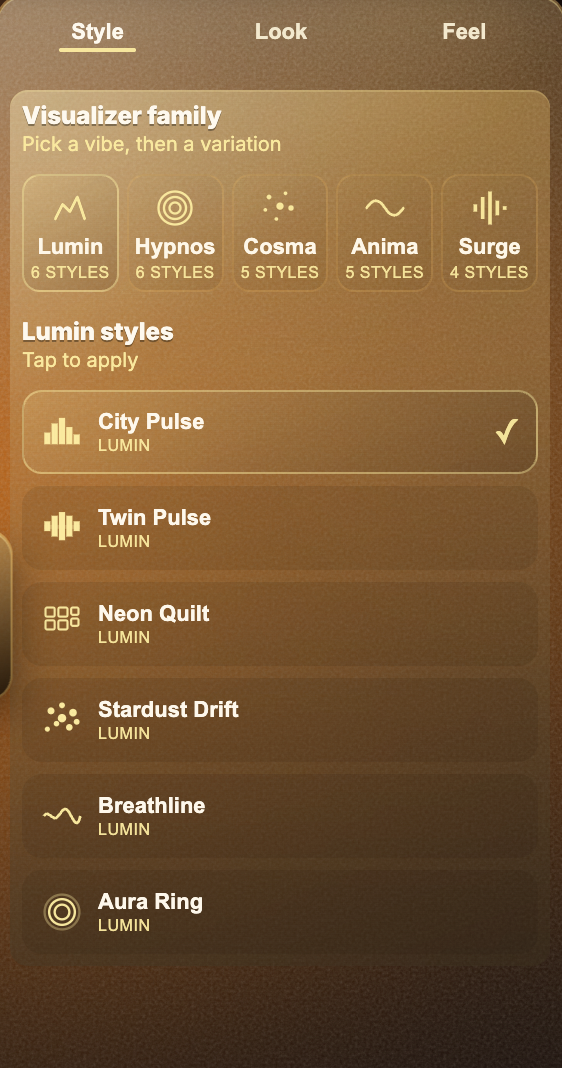
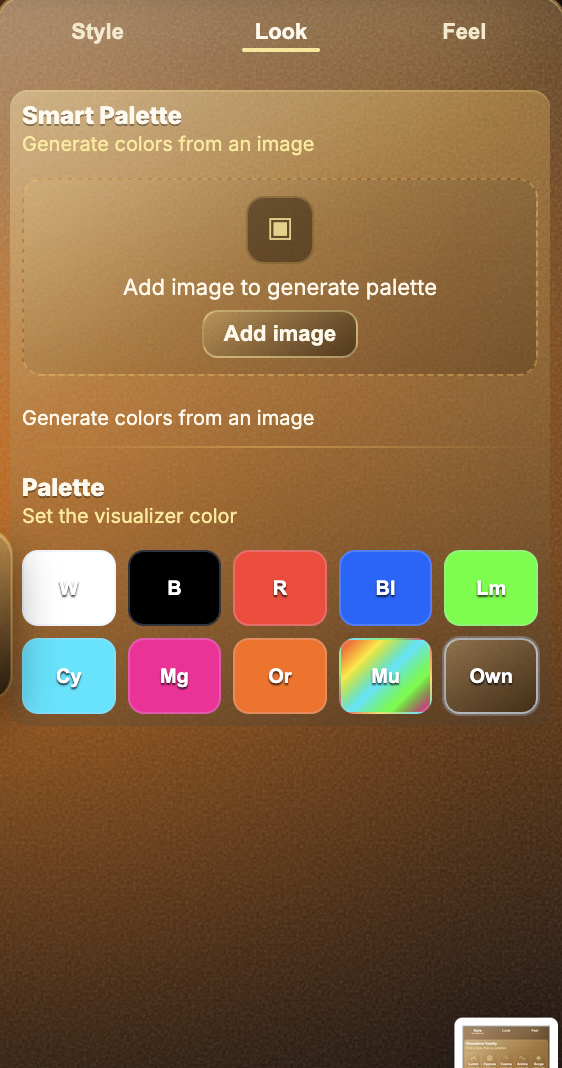
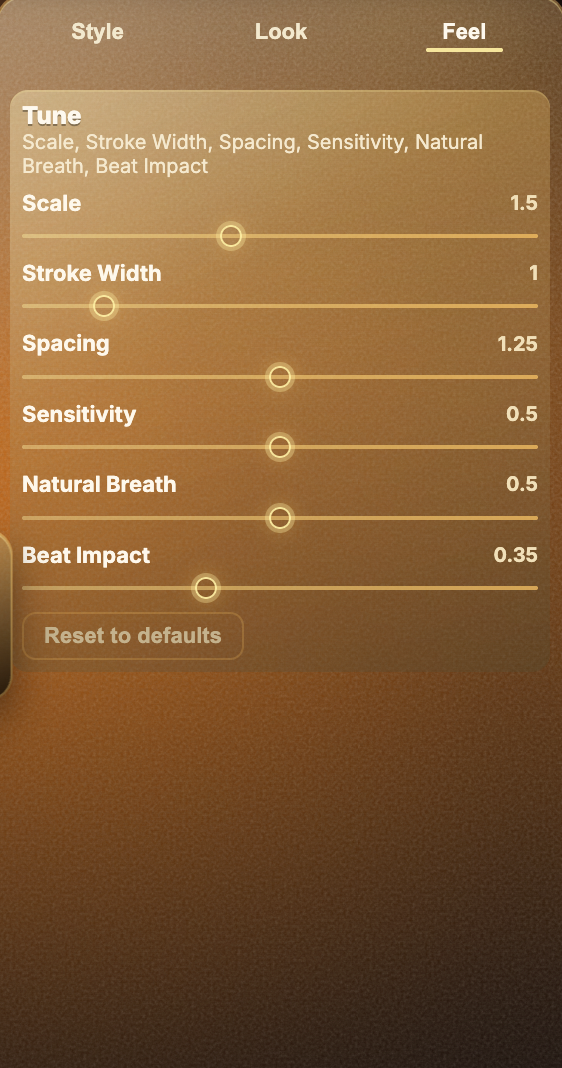
Because ProRes preserves transparency directly, you have more freedom in the design. The visualizer can be bright and sharp, soft and minimal, or subtle enough to sit behind text. Use Style to choose the visual form, Look to control color, and Feel to shape how strongly the audio drives the motion.
If the overlay will sit above busy footage, keep the visualizer clean and avoid excessive density. If it will sit over a simple background, you can push scale, beat impact, and color harder. A useful rule is to preview the visualizer at the size it will appear in the final edit. A style that looks perfect full-screen may be too thin or too busy when placed over a vertical short or a small title card.
Export ProRes from Varya
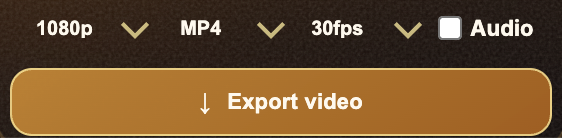
When you are ready, choose ProRes as the export format and keep the transparent fill enabled. If the export panel includes audio, only keep audio on when the overlay file is also meant to carry the song. For a pure overlay that will sit on top of an edit with existing sound, turn audio off to keep the timeline clean.
ProRes exports are heavier, so they may take longer to render and upload. That is normal. The reason to use the format is quality and alpha support, not smallest file size. If you only need a quick social overlay and do not care about real transparency, MP4 plus Screen can be faster.
Connect the transparent ProRes clip above the storyline
Import the ProRes file, select it in the browser, and press Q or choose Edit > Connect to Primary Storyline. Place it above the section of footage where the visualizer should appear. Keep the blend mode Normal because the file already includes transparency.
If the overlay looks incorrect, confirm that the Varya export used transparent fill and ProRes. Do not switch to Screen unless you are intentionally trying to create a different look. With real alpha, Normal blending is the correct baseline.
When ProRes is the better choice
Choose ProRes when the overlay needs clean edges, reusable transparency, or professional compositing. It is especially useful when the visualizer will move between applications, be reused across multiple timelines, or sit over footage that already has a lot of dark detail. Since the transparent area is actual alpha, the result is more predictable than Screen blending.
Choose MP4 instead when you need a smaller file, a faster export, or a simple overlay that is bright on black. The two workflows are both useful, but they solve different problems. MP4 is convenient. ProRes is cleaner and more flexible.
- Use ProRes for true alpha transparency.
- Use Normal blending in the editor.
- Use MP4 plus Screen only when alpha is not required.
- Keep editor-specific alpha interpretation in mind if edges look incorrect.