Plan the YouTube visual before choosing effects
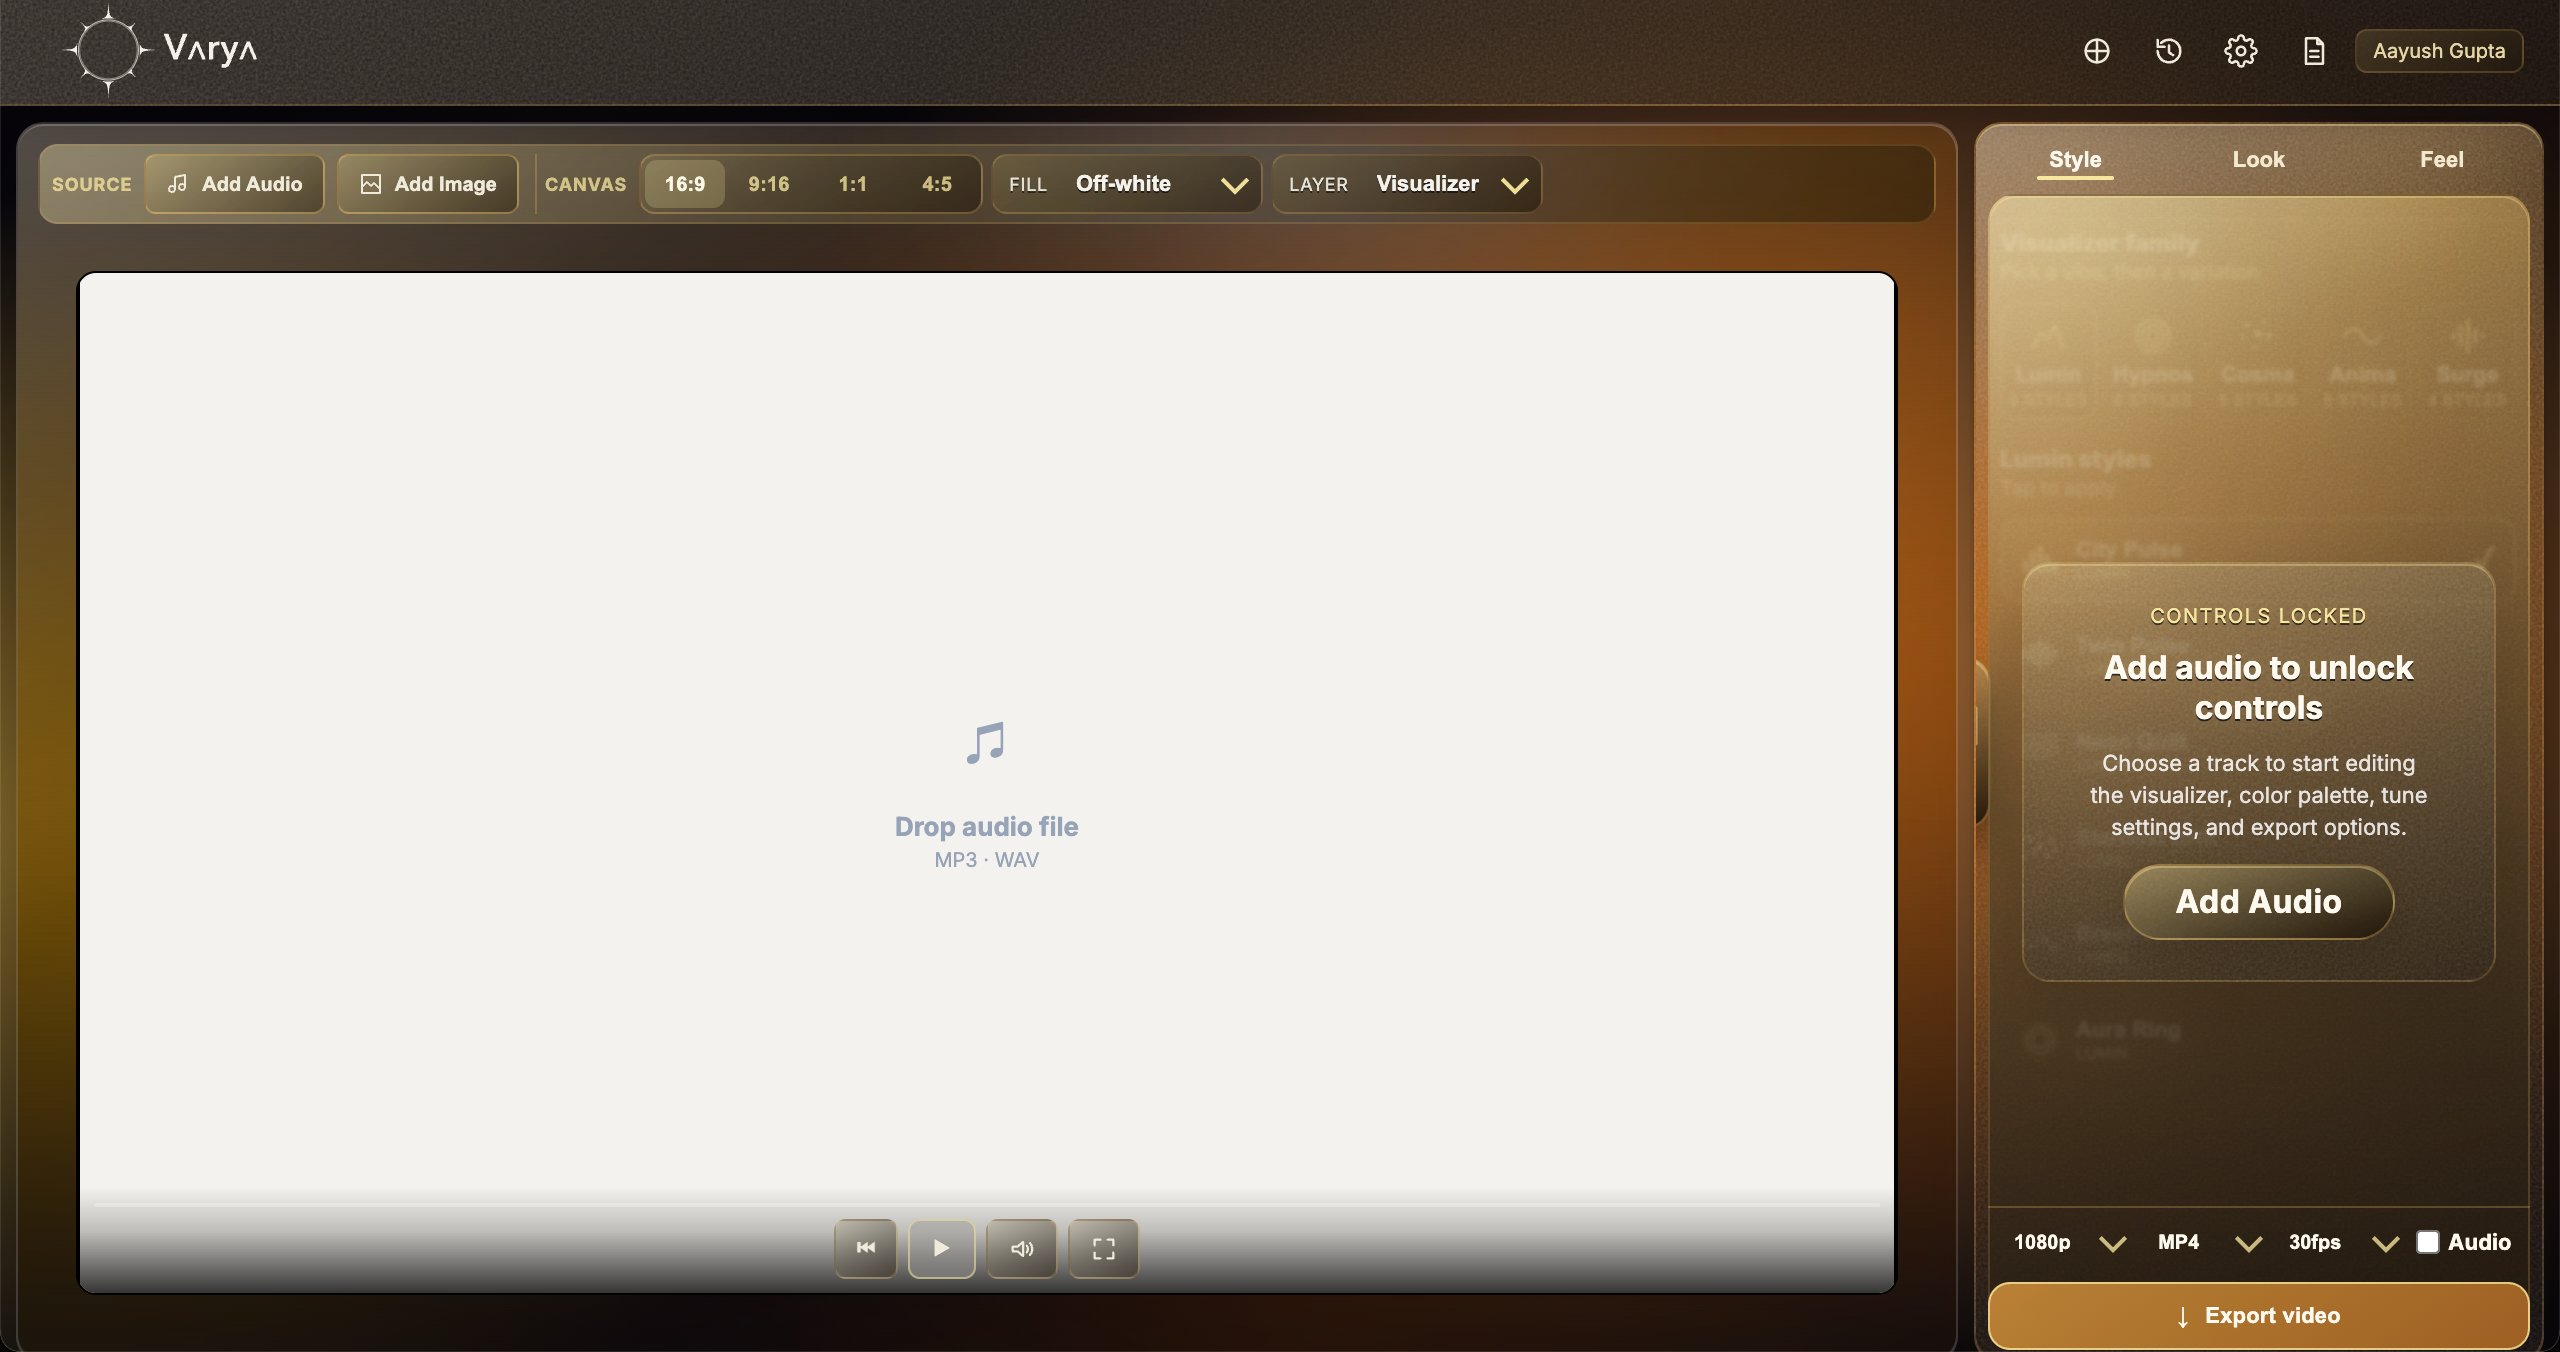
A YouTube music visualizer needs to do more than react to a song. It needs to hold attention for the full track, look clean on large screens, and provide enough visual identity that the upload feels intentional. Varya helps you build that by starting from the audio and then shaping the canvas, artwork, motion, color, and export settings around the track.
For most YouTube uploads, the goal is a complete full-frame video rather than a transparent overlay. That means you can add cover art, a background image, or a designed scene behind the visualizer. The visualizer then becomes the motion layer that keeps the video alive while the song plays.
Use a 16:9 canvas for standard YouTube videos
Choose 16:9 when the video is meant for the main YouTube player. This gives the visualizer a landscape frame and avoids awkward cropping. Add your audio first, then add cover art or a background image if you want the video to feel like a finished release asset. If you only want a clean overlay for another YouTube edit, skip the background image and use one of the overlay workflows instead.
The background can be simple. A strong cover image, soft texture, gradient, or still photo often works better than a busy scene. The visualizer should have space to breathe. If the background already has lots of detail, use a cleaner visualizer style and reduce motion density.
- Choose 16:9 for normal YouTube uploads.
- Add artwork when the Varya export is the final video.
- Keep the background less busy if the visualizer is detailed.
- Skip artwork only if the file is intended as an overlay.

Make the visual readable for a full song
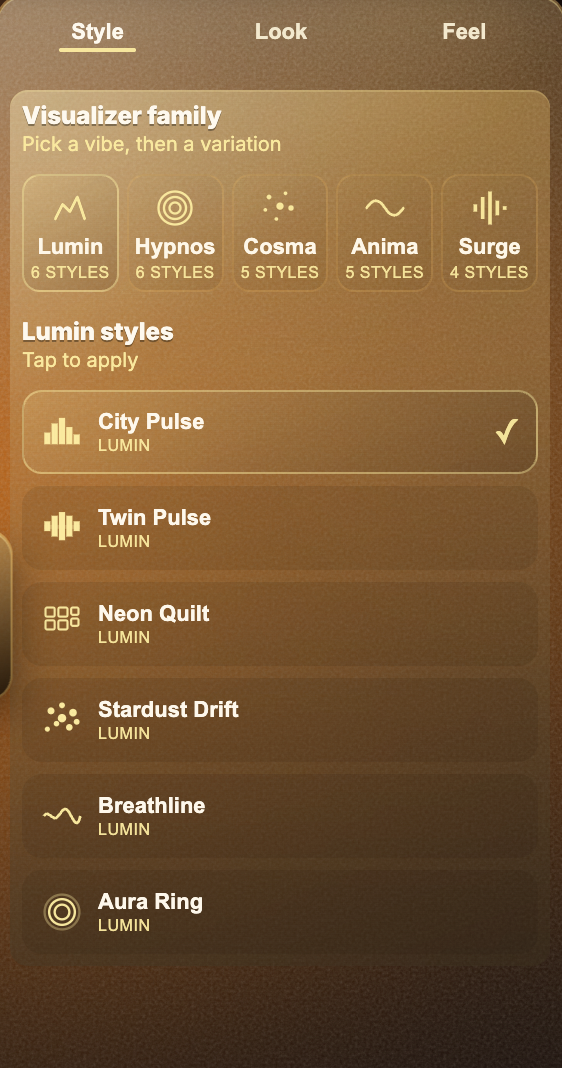
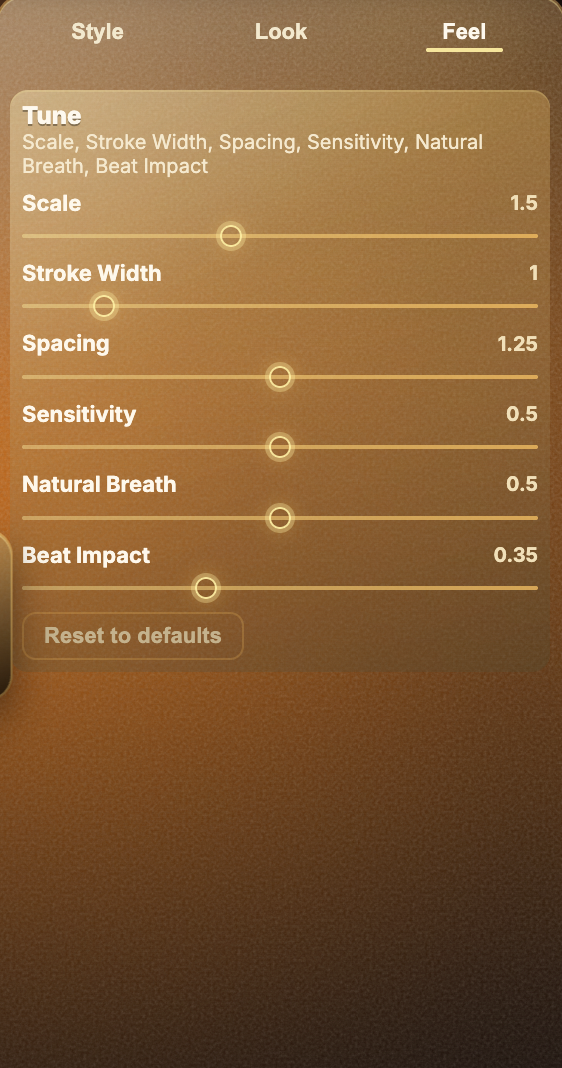
YouTube visualizers often run for three to six minutes, sometimes longer. A visual that looks exciting for five seconds can become tiring if it is too chaotic for the entire track. Use Style to choose a visual family that matches the song, then use Feel to control how much the animation moves during quieter moments and louder sections.
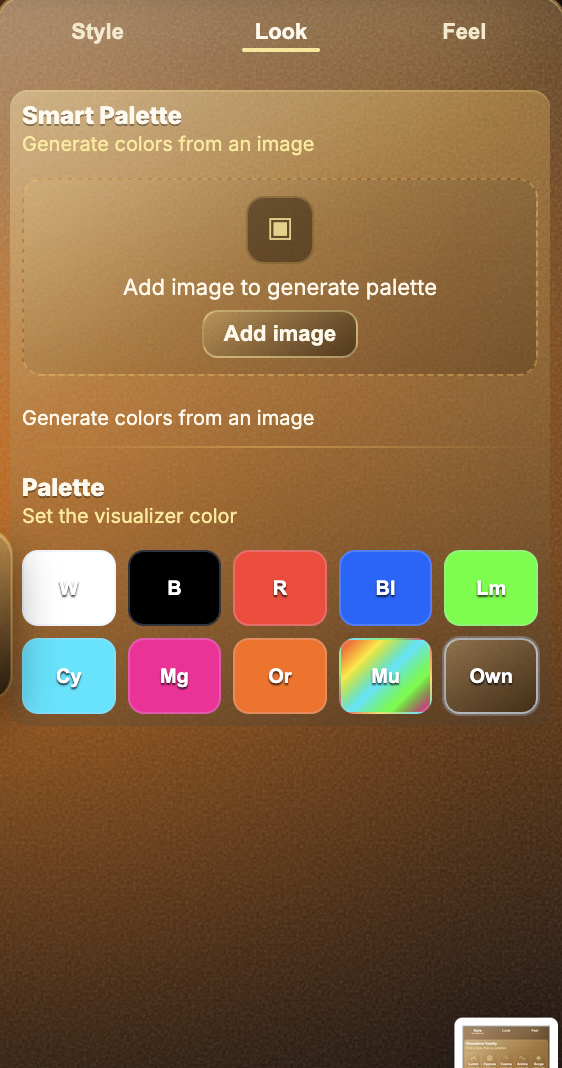
If the track has a strong drop or chorus, it is fine to use more beat impact. If the track is ambient, acoustic, lo-fi, or vocal-led, a softer response usually feels better. Look should complement the artwork. If you add a cover image, Smart Palette can help pull colors from that image so the visualizer feels connected to the release design.
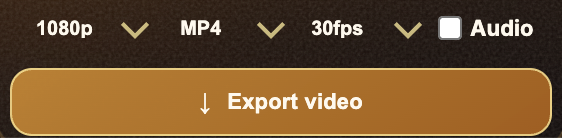
Export MP4 for upload
For a YouTube-ready visualizer, export as MP4. Keep audio enabled if Varya is producing the final video file. Use a resolution that matches your target quality. 1080p is practical for most releases, while 4K can be useful if the visualizer has fine detail or the channel consistently publishes 4K videos.
Before uploading, review the exported file all the way through. Check that the audio starts correctly, the motion stays readable, and the visualizer does not cover important artwork or text. On YouTube, also prepare the title, description, credits, and thumbnail. The visualizer gets people to watch; the metadata helps people find it.
When to use an overlay instead
If your YouTube video already has edited footage, lyrics, or motion graphics, you may not want Varya to create the whole frame. In that case, export a visualizer overlay and place it above your edit in DaVinci Resolve, Premiere Pro, Final Cut Pro, or After Effects. Use MP4 on black with Screen blending for speed, or ProRes with transparent fill for true alpha.
This is useful for performance videos, studio footage, podcast clips, and lyric edits where the visualizer should enhance the scene rather than become the entire video. The related articles below cover those editor-specific workflows in more detail.